Instant Pot Pressure Cooker Red Pork Chili is rich and earthy, the perfect hearty meal for a cold winter day.
Instant Pot Pressure Cooker Red Pork Chili has meltingly, tender pieces of pork shoulder with mixed beans and vegetables, in a smokey, roasted earthy flavored sauce infused with beer, garlic and a little bite of jalapeno.
How did busy families get dinner on the table before the Instant Pot craze? That’s what I’d like to know.
This Chili is the perfect example why every family should have a Pressure Cooker. It’s easy to prepare, and after 25 minutes of being pressure cooked to perfection, the results are a rich, complex flavor that tastes like it’s been simmered for hours.
My Pressure Cooker is the model that Cook’s Illustrated recommends based on its all around good performance. I wouldn’t trade it, but The classic Instant Pot is definitely a great choice as well.
Everyone has a favorite chili, and everyone’s opinion of what makes a perfect chili differs. Some with beans, some without. White, red, chicken, beef, pork, secret ingredients, you name it.
Why this chili works for me.
I really enjoy chunks of meat as opposed to ground. Maybe not the traditional chili choice, but so good! Pork shoulder (or pork butt) is nicely marbleized and when it’s slow cooked, it becomes really tender and juicy. Beef chuck roast will perform well for the same reasons, if beef is preferred.
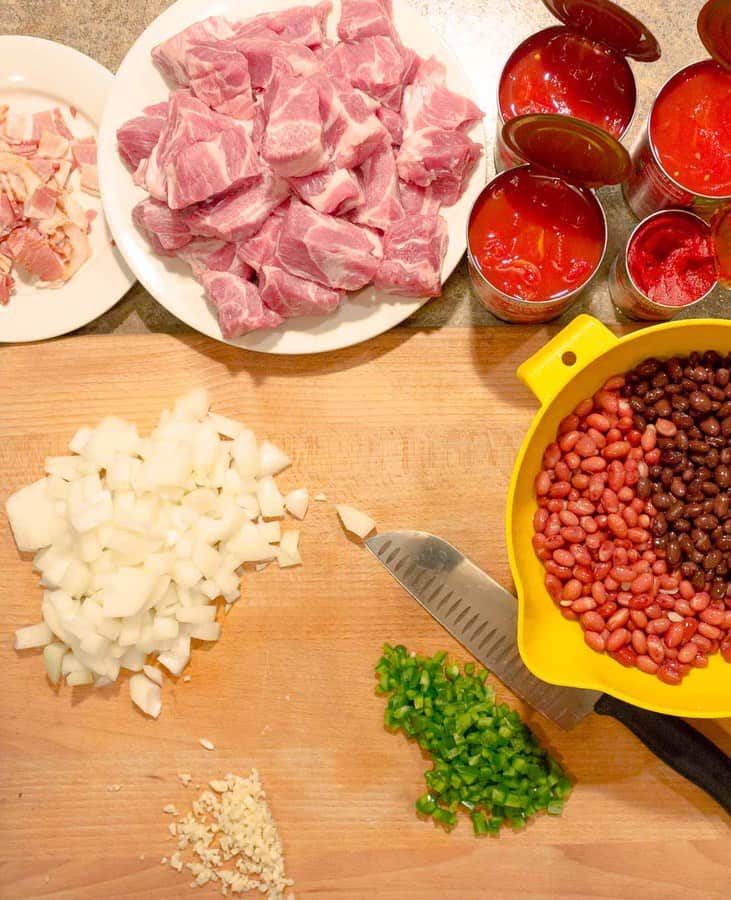
I prefer a chunky, thick, and meat heavy, hearty chili. Watery chili is the worst. My chili has red and black beans, onion, chunky tomato, and large chunks of meat. I use a combination of chili powders for the best earthy, smokey flavor and two minced jalapenos with the ribs and seeds removed for a bit of heat, but still friendly enough for the whole family. Bacon is cooked and then I brown the pork cubes in the drippings, and deglaze with beer for more depth of flavor. Bacon and beer are the secret ingredients in this chili, wink, wink.
How to Make Instant Pot Pressure Cooker Red Pork Chili
After cubing and dicing the meat and vegetables, turn the pressure cooker to the brown/saute setting and let it get preheat.
Add a quarter pound of bacon and cook for 2-3 minutes and then add in the first half of the pork which has been cubed to 1/2 to 3/4″ pieces. About the size of dice.
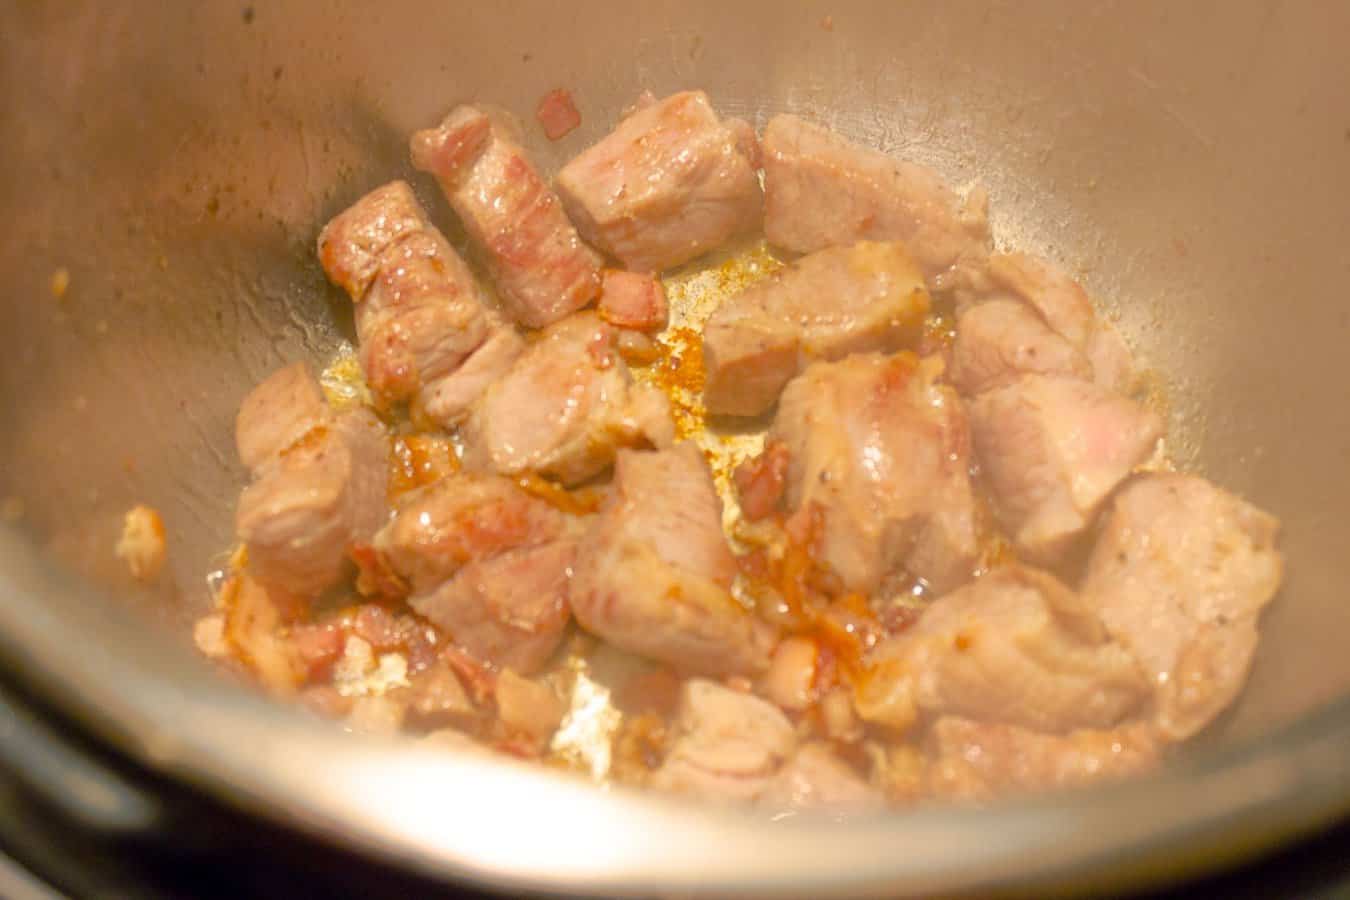
Brown the pork on all sides for about 4-5 minutes. The bacon will be crisp by times the pork browns. Remove the pork and bacon to a bowl, but not the drippings. Add the second batch of pork and cook until browned and then add it to the bowl as well.
Add the onion, jalapeno, and minced garlic and cook 3-4 minutes until they begin to soften and the garlic if fragrant. Add tomato paste and the seasonings and cook for about one minute, stiring frequently.
Add the beer to deglaze the pot, making sure to scrape all the browned bits of flavor off the bottom. Scraping the bottom clean is also important so that the bottom of the pot doesn’t burn during the pressure cooking.
Add the pork and bacon back into the pot along with the rinsed beans and tomatoes with their juices. Stir to combine everything.
Lock the lid and set the pressure cooker to high for 25 minutes. At the end of the 25 minutes, open the pressure release valve to release the pressure and steam. When it finishes, remove the lid, stir, and let the chili rest for about 10 minutes. This allows the flavors to finish coming together and for the chili to thicken to the perfect serving consistency.
Whether you like it topped or just they way it comes, possible garnishes are many and can be a personal choice. Oyster crackers, saltines, shredded cheddar, green onion, jalapeno slices, cilantro, and sour cream are a few options.
Do I have to use a Pressure Cooker? Can this be made on the Stovetop, in the oven, or in a slow cooker?
No, a pressure cooker is not necessary. The advantage to the pressure cooker is that it condenses the cook time.
This chili can absolutely be made on the stovetop, finished in the oven, or cooked in a slow cooker/crock-pot. Details can be found in the recipe notes on those variations.
Try my Red Wine Beef Stew or Beef Guinnes Stew for other hearty, slow-cooked comfort food ideas. My Pork Chili is also great for Tailgating and Game Day, kind of like my favorite Italian Sausage Sub Sandwich!
Have you tried Instant Pot Pressure Cooker Red Pork Chili? Leave me a comment below, I’d love to hear from you!
FOLLOW ME on Pinterest and Pin this now to save for later!
Instant Pot Pressure Cooker Red Pork Chili
Ingredients
- 1 tablespoon olive oil
- 1/4 pound bacon sliced into 1/2" strips
- 3 pounds pork shoulder roast or butt cubed to 1/2 - 3/4" top fat cap removed from roast.
- 1 teaspoon kosher or sea salt
- 1/2 teaspoon fresh ground black pepper
- 1.5 cups diced onion
- 2 jalepenos finely minced seeds and interior ribs removed
- 1 teaspoon kosher or sea salt
- 6 cloves garlic minced
- 2 tablespoons tomato paste
- 1 tablespoon smoked paprika
- 1 tablespoon chipotle chili powder
- 1 tablespoon ancho chili powder
- 1 tablespoon cumin powder
- 1 cup beer
- 16 ounces black beans, rinsed and drained
- 31 ounces red beans, rinsed and drained
- 44 ounces diced tomatoes with juices
Instructions
- Trim the fat cap from the pork roast and cube to 1/2" - 3/4". Sprinkle with salt and pepper.
- Preheat pressure cooker to brown setting.
- Add olive oil and bacon and cook for 2-3 minutes. Add half of the cubed pork and cook until all sides are browned for about 4-5 minutes.
- Remove pork and bacon to a bowl while leaving drippings in the pot.
- Add the second half of the pork and cook until browned. Remove to bowl.
- Add onion, jalapeno, salt, and garlic and cook for 3-4 minutes until onions soften and garlic is fragrant.
- Add the tomato paste and the seasonings and cook for about one minute, stiring frequently.
- Add the beer to deglaze the pot, making sure to scrape all the browned bits of flavor off the bottom.
- Add the pork and bacon back into the pot along with the beans and tomatoes. Stir to combine everything.
- Lock the lid and set the pressure cooker to high for 25 minutes. At the end of the 25 minutes, open the pressure release valve release the pressure and steam. When it finishes, remove the lid, stir, and let the chili rest for about 10 minutes.
- If desired, garnish with choice of sour cream, green onion, red onion, shredded cheddar cheese, jalapeno slices, or crackers.
Notes
Nutrition

Mother, Gardener, Book Devourer, and Food Obsessor. I love being inspired with fresh, seasonal ingredients and relish every opportunity to elevate my home cooking. Join me!


Leave a Reply